Featured Case Studies

Explore Our Waterproofing Projects

Every project is documented to show why waterproofing is more than applying a visible coating. Select a case study to review the installation sequence, materials, transition details, and completed result.

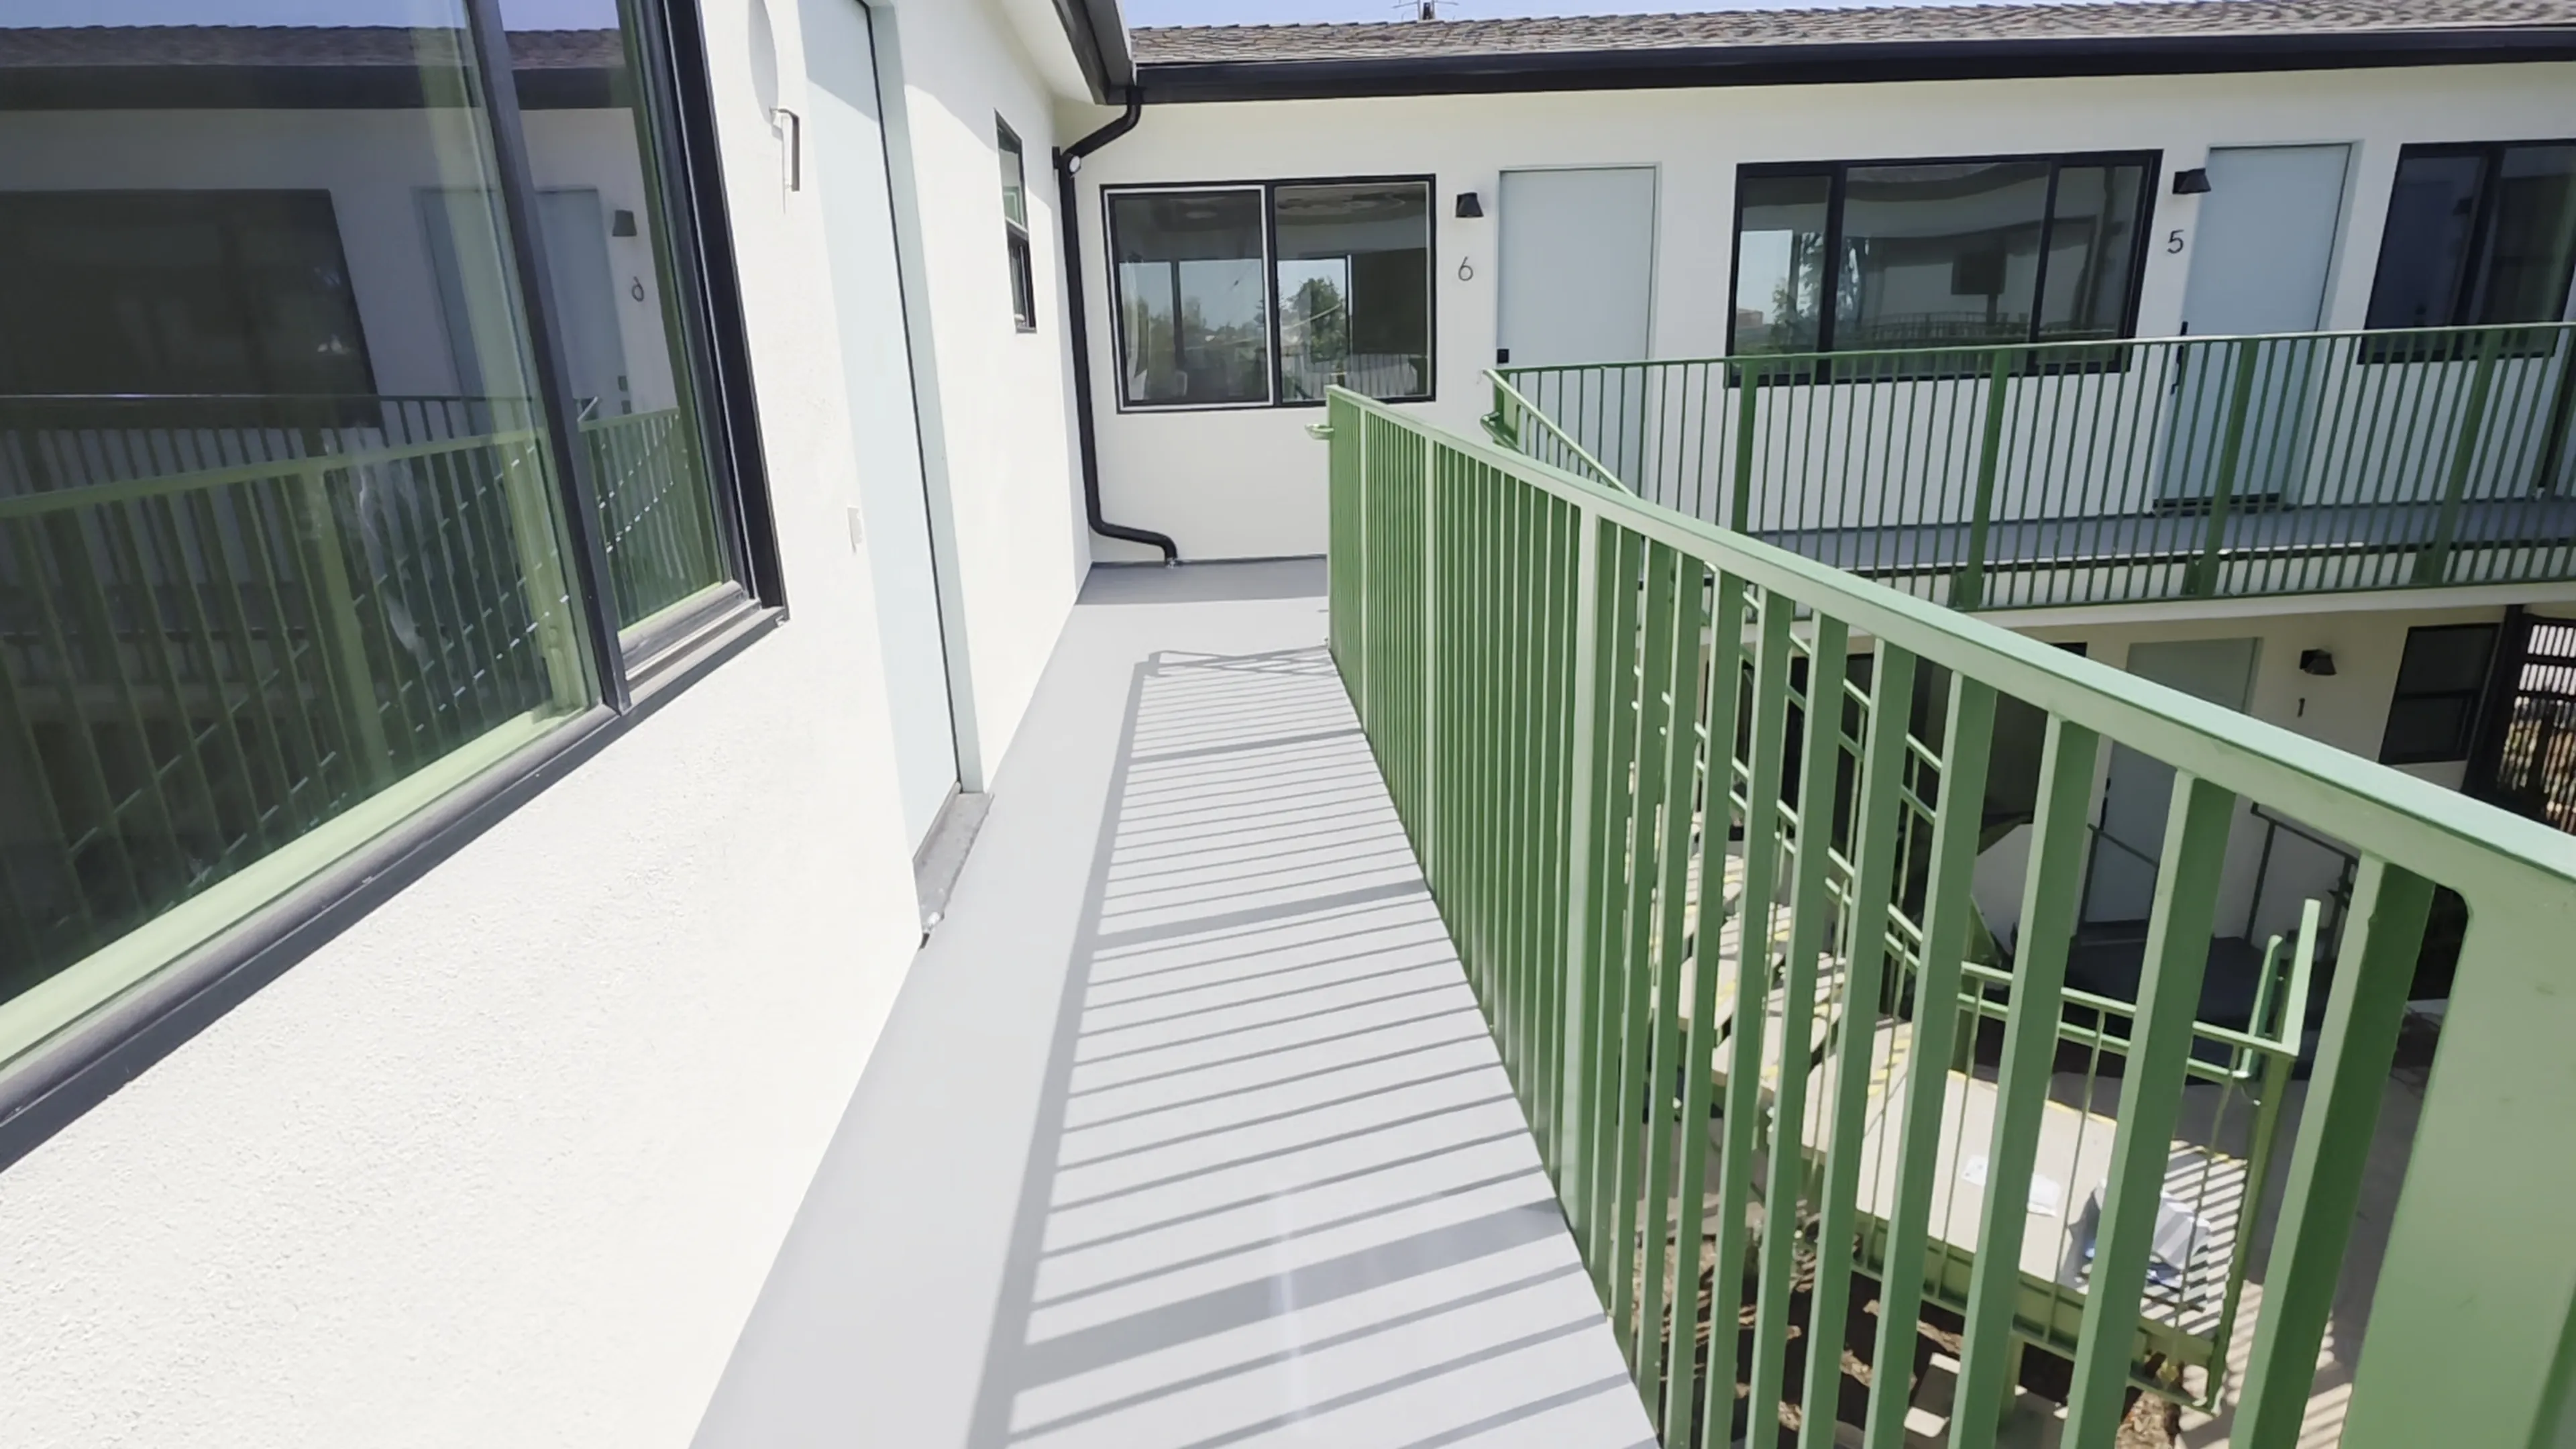
Completed shared second-floor apartment walkway waterproofing project in Pacific Palisades, California.
Multi-Family Walkway WaterproofingPacific Palisades, California

Pacific Palisades Shared Walkway Waterproofing

A documented Westcoat ALX Pro installation for a shared second-floor apartment walkway with wall flashing, Thunderbird deck-drain integration, sloped door-pan sills, reinforced cementitious layers, and four-step elevation transitions.

  • Wall-to-walkway flashing integrated behind the finish surface
  • Thunderbird deck drains fitted within measured lath and cementitious openings
  • Sloped door-pan sills detailed to route water outward from apartment thresholds
  • Continuous waterproofing through four-step elevation transitions
  • Textured and colored finish for an exterior shared pedestrian route
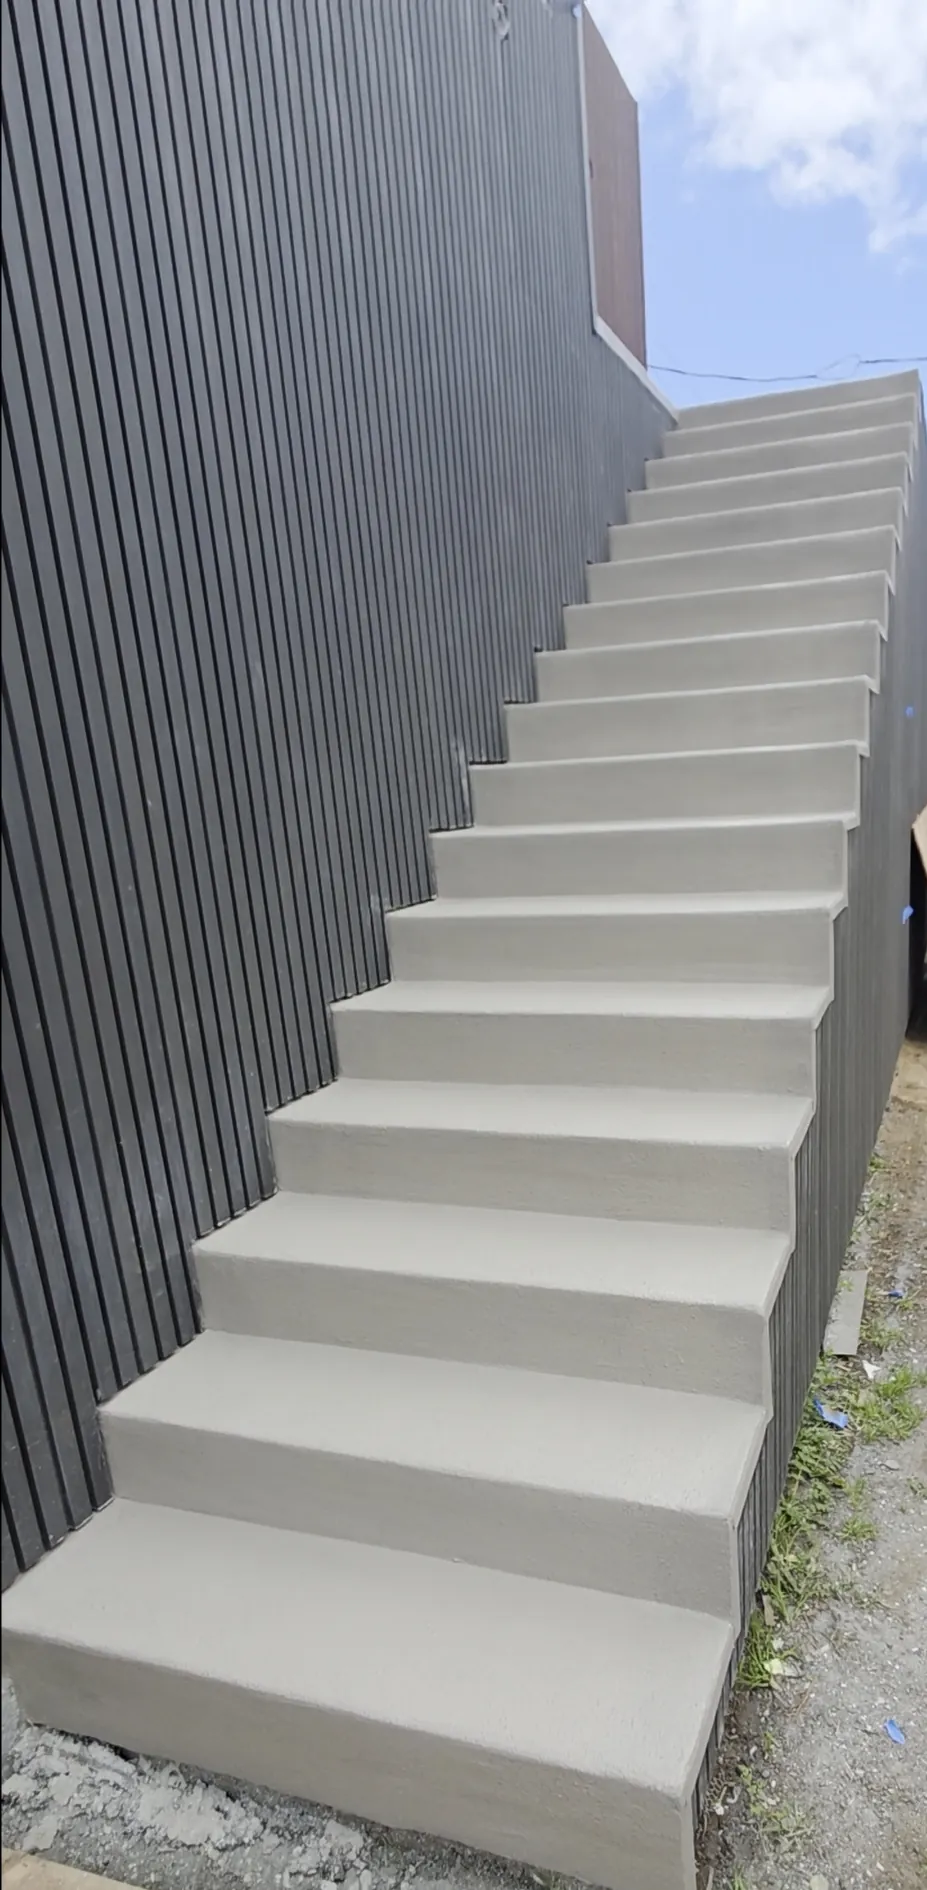
Completed residential staircase waterproofing project in Venice, California.
Residential Staircase WaterproofingVenice, California

Venice Staircase Waterproofing

A documented Westcoat ALX Pro installation for a residential staircase with wall flashing, Thunderbird deck-drain integration, sloped door-pan sills, reinforced cementitious layers, and four-step elevation transitions.

  • Wall-to-staircase flashing integrated behind the finish surface
  • Thunderbird deck drains fitted within measured lath and cementitious openings
  • Sloped door-pan sills detailed to route water outward from apartment thresholds
  • Continuous waterproofing through four-step elevation transitions
  • Textured and colored finish for an exterior shared pedestrian route

What the Finished Surface Hides

Waterproofing Is a System, Not Just a Coating

A finished deck, balcony, walkway, or stair surface can look simple, but reliable waterproofing depends on the preparation and transitions below it. Project case studies help clients, architects, and general contractors see how individual layers work together as one coordinated assembly.

  1. Substrate Preparation

    The surface is inspected, cleaned, repaired as needed, and prepared so the system begins on a sound and properly reviewed base.

    Waterproofing stage 1 of 5.
  2. Flashing and Transitions

    Walls, edges, door thresholds, seams, drains, and other changes in plane are detailed so water management does not stop at the visible surface.

    Waterproofing stage 2 of 5.
  3. Membrane and Reinforcement

    Waterproofing membranes and reinforcing materials are installed in the proper sequence to support continuity across the field, edges, and elevation changes.

    Waterproofing stage 3 of 5.
  4. Cementitious Build-Up

    Metal lath and cementitious layers create the reinforced base for the pedestrian surface while integrating around drains, thresholds, and transitions.

    Waterproofing stage 4 of 5.
  5. Texture and Topcoat

    The final texture and color finish complete the exterior walking surface, with the system selected and installed according to the project requirements.

    Waterproofing stage 5 of 5.

The details determine the result

The visible topcoat is only one part of a waterproofing assembly. Reliable work depends on how the substrate, flashing, membranes, drains, thresholds, reinforcement, cementitious layers, texture, and finish are coordinated throughout the project.

Useful Documentation for Project Teams

Detailed case studies make it easier to discuss scope, transition details, sequencing, and finish expectations before waterproofing work begins.

  • General Contractors

    Review the installation sequence and coordinate waterproofing details with related trades, schedules, doors, drainage, and finish work.

  • Architects

    See how wall transitions, drains, thresholds, membranes, reinforcement, and pedestrian finishes were addressed in documented field conditions.

  • Property Managers

    Understand the difference between a surface-only repair and a system-based waterproofing scope for shared residential and commercial areas.

  • Property Owners

    Learn what happens below the final finish and ask better questions about the materials, details, drainage, and installation sequence proposed for your property.

Discuss Your Waterproofing Scope

Have a Deck, Walkway, Stair, Balcony, or Roof Deck to Waterproof?

Share your plans, site photos, or visible conditions with SPL Waterproofing. The team can discuss waterproofing layers, drainage, transition details, substrate conditions, and practical next steps for your project.

  • Clear project-specific scope discussions
  • Attention to details beyond the visible surface
  • Coordination-minded communication for architects and general contractors